Wednesday 24 February 2010

Launch Day 2

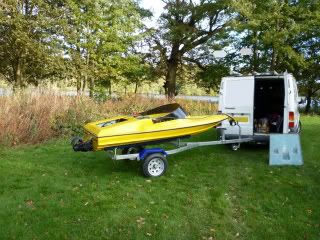
More photos from first run. I didn't fiddle with the engine settings so can go quite a bit leaner on the fuel mix and also dial in some more advance timing on the MSD ignition. I ran a conservative map at 20degrees advance ignition timing out of an estimated maximum 25 degrees. Standard igntion timing is fixed at 18degrees +/- 2 degrees.


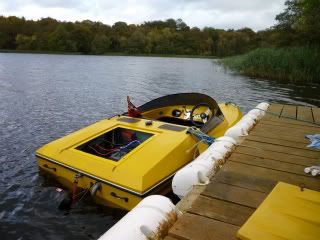
Aim for the middle of the lake!
(click photo to enlarge)
 
 
Britannia rules the waves!!  Red ensign from my Dads old Fletcher speedboat.
(click photo to enlarge)

 (click photo to enlarge)

 (click photo to enlarge)

 (click photo to enlarge)

Boating heaven!
 (click photo to enlarge)

 (click photo to enlarge)

 (click photo to enlarge)

 (click photo to enlarge)

(click photo to enlarge)

Saturday 13 February 2010

Launch Day

The boat finally got wet at the end of October 2009. I was very lucky to be able to use a local lake to test the boat. The lauch went well and no leaks were found. After the naming ceremony (where she was named "Soap Dish") it was time to start the engine a go for a spin. The engine started on the button and everything seemed in order. Once she was warmed up, i took her out and tested the steering and then after tootling around for a bit, tried to get her up on the plane. It quickly became appartent that the jet unit had some major problems as the jet would slip as more throttle was applied. A quick burst of throttle only produced a load of bubbles, but did not result in any decent acceleration. To get the thing on the plane, i had to feed the throttle in gently, but there remained the sensantion that the jet unit was not running well and could be likened to the feeling of the clutch slipping in a car. The problem was put down to the tip clearance around the impellers (the distance between the impeller tips and the wear rings). After the run the jet unit was disassembled and the tip clearance was found to be way too big (about 2mm). The recommended tip clearance for jet units is about 0.2mm. I was aware the tip clearance was big but had not expected such a drop in performance and had deliberately left the tip clearance as it was to account for the small eccentricity in the shaft. The jet unit has now been removed and is undergoing a full rebuild with a new Duplex Stainless Steel shaft and new wear rings sized to give the correct tip clearance.

At the top of the slipway ready for launch!


In the water again, after years in the shed

New Trailer

The boat had spent many months on some old tires as the old trailer was about to fall apart. The trailer would have needed a complete rebuild and as I didn't have that much time to work on it, so I decided to fork out for a new one. I found a suitable trailer from Indespension, which is actually a Jet Ski trailer, which fits the boat well. It sits a bit higher than the old trailer which makes it easier to work on.

The boat sat on old tires awaiting new trailer


Up on new trailer an ready for the water


Engine Test Run

Having wired up the electrics and made all the necessary connections for the rebuilt engine, it was time for a test run. Up until this point the engine had been very unreliable when it came to starting so it was very satisfying when it started first time on the new ignition system and rebuilt carb. I connected the garden hose to the engine to keep the engine temps in check, which is fine if you remember to turn it off before stopping the engine, otherwise water flows into the cylinders from the exhaust.

Sunday 7 February 2010

Making a new intake scoop

The original intake scoop which form part of the jet unit intake was missing so a new one had to be built from scratch. This was done by cutting a suitably sized steel base plate, and then building up the shape of the scoop with expanding foam filler. The foam was then cut to the required shape and glassed over with several layers of glass fibre.


Expanding foam used to form rough shape of scoop


Mold removed


Cutting leading edges to shape


Shaping the foam


Adding fibrefiller to smooth out the foam


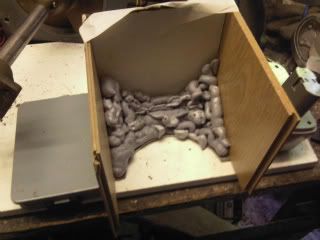
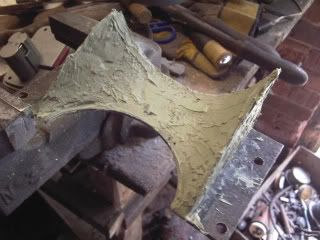
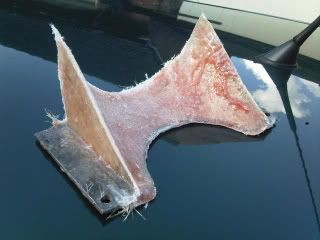
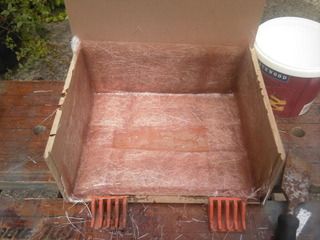
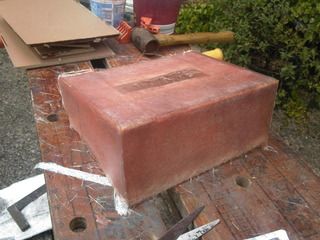
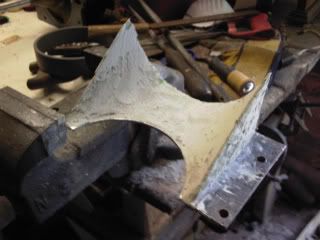
Smoothing out the filler. Starting to take shape


Final stages of fairing


First layer of glass


Wednesday 3 February 2010

Making a Battery Tray

All there was to hold the battery in place was an old bit on 2 x 4 and some metal bar which weren't even properly attached to the hull so I set about making a new battery tray, properly glassed in.


Before - Obvius place for battery but no tray

Making the mold - I used Beeswax as a release agent - different, but it worked!


Laying up the glass


Plug removed from mold


Tidied up and ready to be glassed into hull


Glassed into hull and rubber matting added

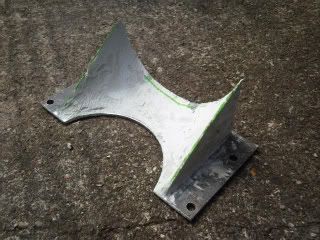
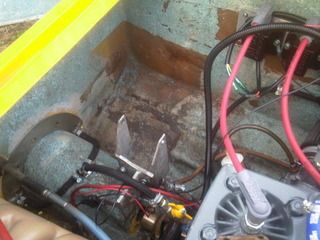
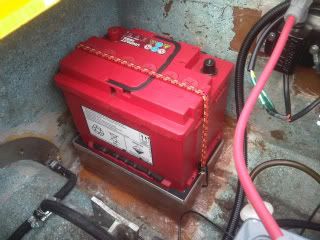
Battery in position - just needs proper clamp to hold it in place now