
Stator section of jet pump after having missing chunks welded up
The rest of the jet pump seemed OK, but the wear rings were quite worn so I had some more made up by Plastic Machining Services of Telford. I later discovered that I had specified WAY too big a tip clearance (approx 2mm total) resulting in poor performance from the jet pump. The wear rings were pressed into the pump housings and the unit was treated to a coat of matt black enamel paint.

UA Jet unit following initial refurb
Upon assembly of the unit and fitment to the boat I discovered that the shaft was slightly bent, so I had this straightened but unfortunately it was not straight enough and I encountered some bad vibration when the impellers hit the wear rings at certain speeds. This, combined with the big tip clearance on the impellers resulted in poor performance from the jet on its first test run.
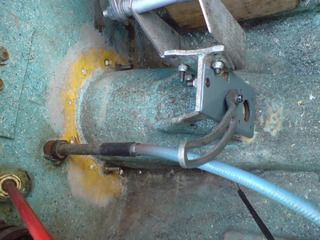
The intake to the jet unit is fibreglass and is part of the hull moulding (see pic below). My boat didn't come with an intake grate to prevent stones being taken up into the jet but the hull moulding has the slots for an intake grate. I managed to buy another UA jet unit on ebay which came with an intake grate so I will eventually fit that to the boat.
The intake to the jet unit is fibreglass and is part of the hull moulding (see pic below). My boat didn't come with an intake grate to prevent stones being taken up into the jet but the hull moulding has the slots for an intake grate. I managed to buy another UA jet unit on ebay which came with an intake grate so I will eventually fit that to the boat.
Inlet into jet unit
No comments:
Post a Comment